Friday, March 4, 2011

Candy Box with Circusy Flair

I know, two posts today!! Well, it is a weekend, right? No work responsibilities so I craft therefore I am happy!

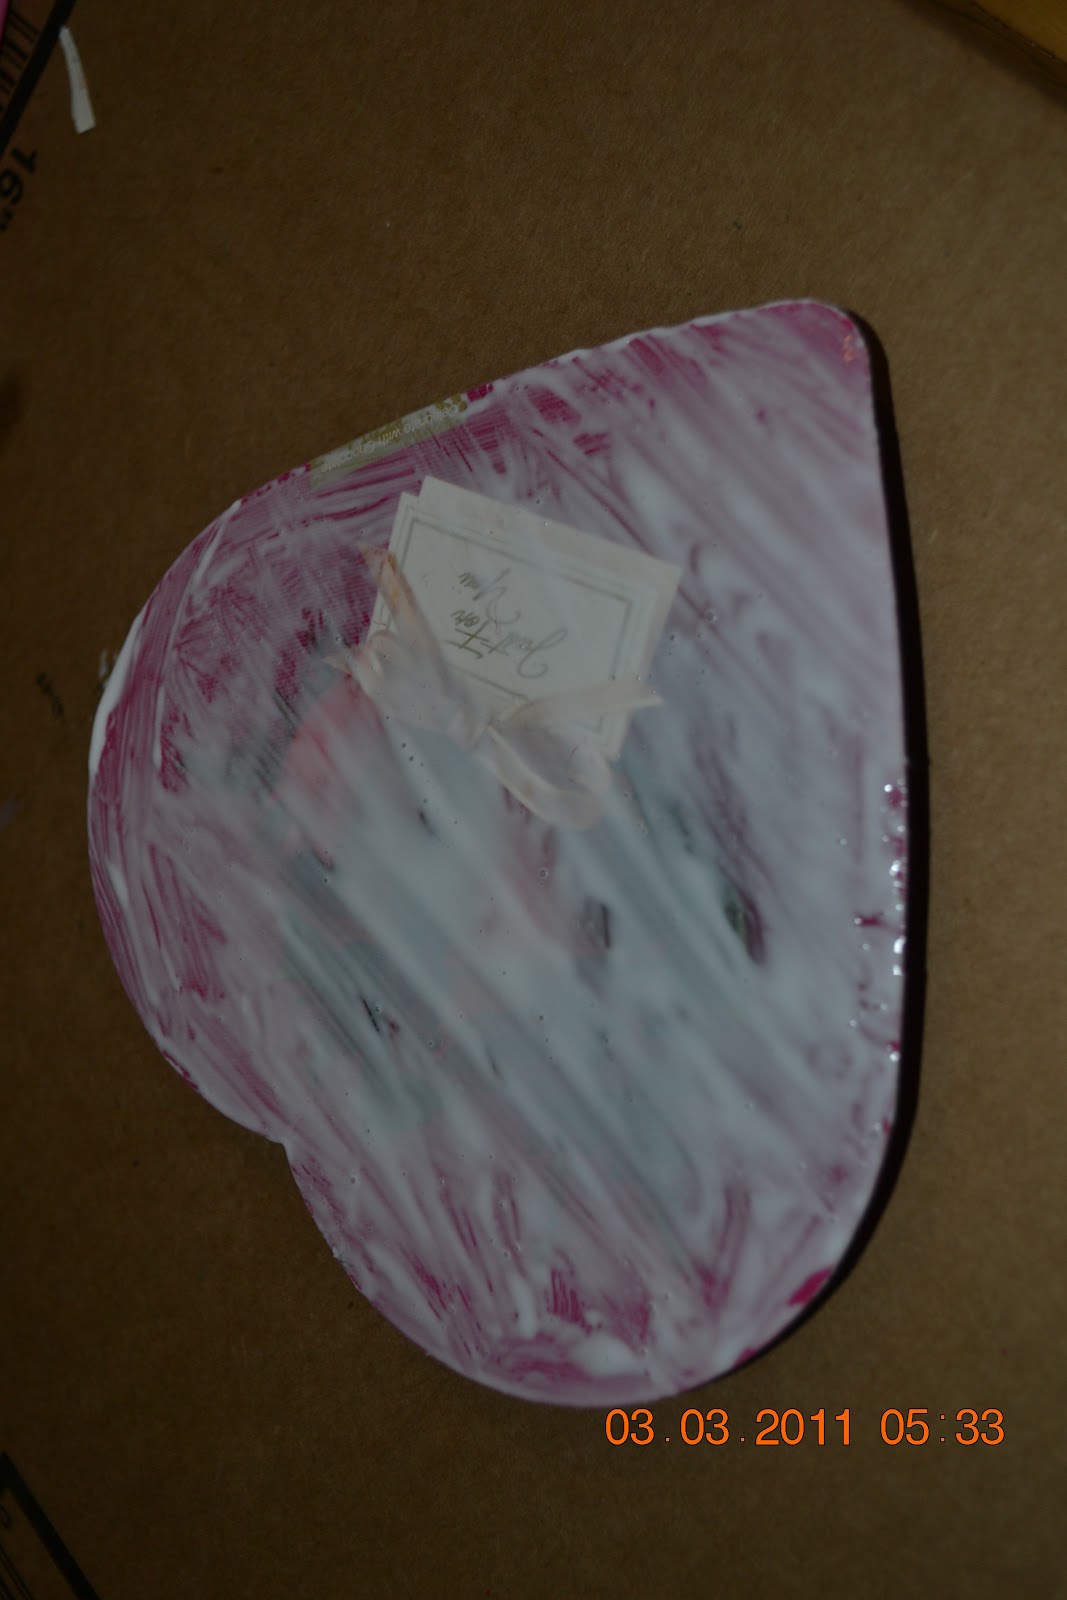
Ever wonder what to do with those Valentine's heart boxes?  Well, two of my girls at school, bought me a little box of chocolates for Valentine's day.  I looked at it and saw something that could be remade! Into this:

 Step One: Use a craft knife to cut out the interior.

 Step Two: Choose your paper.  Or fabric would be great too!  I chose a nice circus scrapbook paper I bought for 19 cents on sale at Michaels.


 Step Three: Press the paper to the top of the lid, flip it over and cut it out  (paper facing down).  When you flip it upright it will look like this:


 Step Four: Now trace the size of the inside, to make a liner.  I did this by flipping the base upside down on the back of the paper, and tracing the smaller inside ring.

 Step Five: Cut it out with scissors and paint it with glue.  Press it inside the box.
 Step Six: Now trace the outside of the base.

 Step Seven: Cut the base tracing out and paint the base with glue.  Press the paper on.

 Step Eight: I added some Glossy Accents to the edges of the ears, the tutu, and the stool.


 VOILA! Cute upcycled storage box...My specialty:)


Scrabble tiles: cheap and easy

Own this tile, go to whoopdwhoop.com


So, I know scrabble tiles have been popular over the last couple of years.  People sell them, make them, etc.  I like to use photos, recycled greeting cards, scrapbook paper, magazines, and comics.  This technique is less expensive, less toxic, and super easy!

Step One: Choose your tile.  Measure to the center of the top, and make a mark with a pencil.


 Step Two: Using a very small drill bit, and a dremel tool, drill a hole in the top of the tile on the pencil mark.  Do not go too deep.

Step Three:  Apply Aleene's Tacky Glue all over the back of the tile with a paintbrush.

 Step Four: Using the paper you have selected, press it on the glue and hold it up to the light to make sure it is properly placed
 Step Five: After allowing it to dry, trim the excess off of the edges with a craft knife.
 Step Six: Flip it over, and it should look like this:
 Step Seven: Starting at the top, apply a thick layer of Glossy Accents.


 Allow it to run down the tile, so it makes an even coat.
 If necessary, use something to spread it with.  I used the end of one of my cheap paintbrushes I use for glue.
 Step Seven: Allow the Glossy Accents to dry.  I recommend overnight.

Step Eight: Make an attachment.  You can buy bails to glue to the back, but I like to make my own hardware using silver wire.  This way the tile is reversible.  You can also use this great product called "Fun Wire."  It is a plastic coated wire that is available at Wal-mart, Michael's or AC Moore.
 Cut a three inch length of silver wire.
 Fold it over about 2/3 of the way down.
 Wrap the wire around about eight times so you have a loop at the top and a coil.


 Trim the base so that only about 1/8-1/4 of untwisted wire hangs down.  Then apply a good glue to the wire and stick it in the hole.  I used Gorilla Glue, but you have to be VERY careful since Gorilla Glue expands and gets funky if you use too much.  Other people recommend E-6000, but I also have used super glue.  I like gel-like super glues best.


 Your finished tile should look like this:

Add a ribbon or chain and VOILA!  A personalized accessory!

Thursday, March 3, 2011

How to snazz up an altoids container

Arrgumph.  I had this all typed out and lost the whole thing in cyberspace....oh well.  Here goes again.

So, many of you might have altoids, sucrets, and other handy little tins lying around the house.  I have a special affection for these tins.  The reason is...they can survive a fire and protect the contents inside. 

In December my family suffered a house fire.  I lost *gasp* almost all of my craft supplies, including my sewing machine.  It was heartbreaking, and I felt a deep sense of loss.  I thank God everyday it was a "fixable" problem, and that nobody was hurt.  Nonetheless, the important fact is that the things I had in various altoids and sucrets tins survived the fire just fine.  I opened up the charred tins and, wham!  My buttons were unscathed.  Some of the really flimsy plastic ones were a tad melted....but other than that they were fine! 


So since I have a super long day on Thursdays between teaching seventh grade during the day, and teaching alternative high school biology at night...I figured I would put up this simple little project that I have been working on.

Step One: Paint your tin using acrylic paint.  I chose a nice honeysuckle pink, since apparently that will be the "color of the year" for 2011.  I'm lying.  I chose it because I liked the pink and then later saw a blog post about the honeysuckle.  Make sure you let it dry for a long time between coats.  If your making a few at a time, employ the "assembly line" method.  Paint them all at once, then let them dry for a few hours.


Step Two:  Choose your scrapbook paper, or you could use magazines, etc.  Trace the lid onto the back of the paper, and glue it on using a nice glue.  I love my Aleene's tacky glue.  I painted it on to both the lid and the paper, and I put some weight on it to let it dry.


Step Three: Using a craft knife, cut around the edges.  Make sure you don't have any sort of a paper overhang.  I like to use the cheap, hardware store, snap off utility knifes.  I have always used them since I tend to lose things, and I like their retractable feature (which the exacto doesn't have).


Step Four:  Apply Mod Podge all over.  Let it dry.  You can apply several coats. 
can you tell my son took this picture? Actually, he took like six, and this was the best of the worst!


Step Five: Add some glossy accents to the top.  It gives a nice shiny finish, and protects the top.  It can be found in the stamp aisle....I used a brush to give it some depth.


Step Six: Store your trinkets in the cute little box...that way they can be protected from fire, etc;)

Wednesday, March 2, 2011

Fish Fry: The easy way!!

Fish Fry: The easy way!


So, I love my husband, and as you can see from his pizza post, he is an amazing cook.  The only thing he hadn't quite mastered prior to tonight was the beer battered fish fry.  However, tonight, he mastered it!!

I admit.  I was nervous when he told me that he was making a fish fry for dinner. Mainly because the last time it turned out to be a gooey, icky mess.  This time, however, it was YUMMY!!

So, he started off by heating a pan of canola oil.  He used a wok, because that is all we had handy.  My friend Marion uses a cast iron frying pan when she deep fries.  Or, you could always use an electric fryer.

Key: get the oil hot.  Cool oil makes the gooey soggy mess.

Nice hot oil.  Test by dropping a little batter in and seeing if it puffs up immediately.


While the oil was heating, he whisked together a bottle of beer (Sam Adams Lager) and the McCormick mix.  I think it is worth it to just buy this pre-made mix.  It was truly delicious, and had a nice puffy and thick crust.


So when you whisk them together, your batter should look like this...except your bowl shouldn't be upside down.  I have a real problem taking pictures with the iphone sometimes....I just don't notice it's upside down sometimes;)  I do know how to put them right side up...I just chose not to in this instance.  Gives the blog some character!


Then, you take your fish: We used a lovely haddock, flash frozen on boat and defrosted.  Haddock is nice and flaky when cooked properly.

cut haddock into manageable pieces, we cut fillets in half

Now, dip the fish in the batter, and put it in the oil.  It only took about five minutes to fry up nice and golden brown.  Flip after a few minutes, and voila! Golden plate of fish fry!


We served it with some seasoned french fries (done in the oven) and some bag salad.  It was literally a 20 minute dinner!!